
HOW TO MAKE YOGURT AT HOME
It’s simple to make homemade yogurt, and I’ll walk you through the process step by step (with a video). This is a foolproof method for making yogurt at home – I guarantee it!
There are two primary methods for making homemade yogurt: on the stovetop (and then incubated in an oven or cooler) or using a yogurt maker.
Personally, I prefer to make yogurt in a yogurt maker rather than in a large pot, cook it on the stove, and then keep it warm in the oven. Why? To begin, I’d prefer not to tie up my oven for eight hours. Yes, you can do this overnight if it’s less of a hassle. However, on occasion, I forget to prep everything prior to going to bed and must make a batch during daylight hours.
Second, when I use the Euro Cuisine yogurt maker, the yogurt is automatically portioned into individual serving jars – the ideal size for breakfast. The lids feature a cool date stamp, which helps me remember when I made the batch. Additionally, the individual jars keep me from indulging in too much creamy yogurt goodness and make my homemade yogurt instantly portable – which is ideal when I’m on the go for breakfast!
Finally, I adore my yogurt maker because, despite making well over 100 batches of yogurt at home, I have never had a batch fail. Not a single! My first few attempts at making yogurt on the stovetop resulted in either boiling over my milk (a huge mess) or burning milk to the bottom of the pot (which is not fun to clean). Because I am constantly distracted in the kitchen, the stovetop method is not ideal for me.
SIX ESSENTIAL STEPS FOR MANUFACTURING HOMEMADE YOGURT
Bring the milk to a temperature of 180 degrees Fahrenheit. This kills any unsavory microbes present in your milk and ensures that no bacteria pathogens, mold, or spores remain. When you create an environment conducive to bacteria multiplying, you want to ensure that only the beneficial bacteria (which you introduce into the milk) multiply. Additionally, heating the milk results in a thicker yogurt by altering the protein structure.
Bring the milk to a temperature of 112-115 degrees Fahrenheit. After making the milk inhospitable to pathogenic bacteria, you want to make it hospitable to beneficial bacteria – your starter mix. To determine when the milk has cooled to 112-115 degrees, use the same instant read thermometer that you used to heat it.
Add your yogurt starter culture – the beneficial bacteria. One cup of warm milk should be poured out and either a yogurt starter (I use Yogourmet) or 3 tablespoons of pre-made yogurt should be stirred in. Look for lactic acid-producing bacteria when selecting a starter. Lactobacillus bulgaricus and Streptococcus thermophilus are recommended as a minimum. Lactobacillus acidophilus and Bifidobacterium lactis are two additional beneficial bacteria.
Combine the yogurt starter and the remaining milk. This spreads the beneficial bacteria throughout the entire batch of milk.
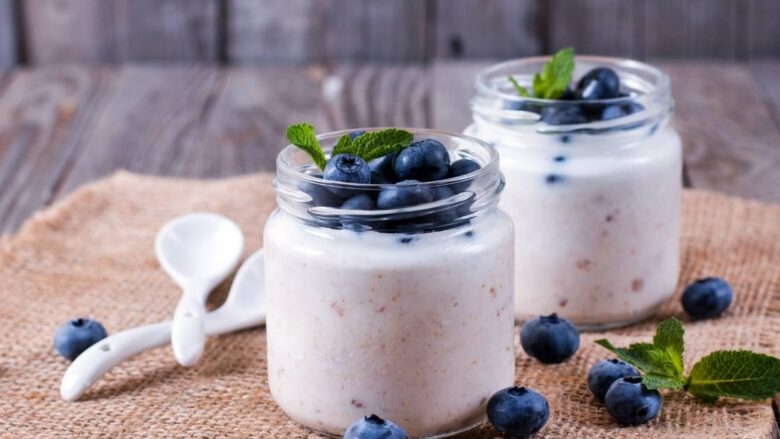
Fill jars halfway with milk and incubate for 7-9 hours. A constant, lukewarm temperature is ideal for all of your beneficial bacteria, promoting their growth. The longer your yogurt is incubated, the thicker and tangier it will be. And after approximately 8 hours, you’ll have delicious, nutritious, thick, and creamy yogurt.
Refrigerate the jars to cool and set. Refrigerate the yogurt for a couple of hours. The yogurt will become even thicker as it cools!
While supermarket-brand yogurt is acceptable as a starter, please read the ingredients carefully and look for live, active cultures. You don’t want junky stabilizers, fillers, or flavorings in the yogurt you’re going to use to propagate an entirely new batch.
